How to Paint a Ceiling Without Streaks: Complete Guide
Learn the exact technique to paint ceilings streak-free: prep work, roller selection, brush blending, and pro tips to avoid marks and roller lines.
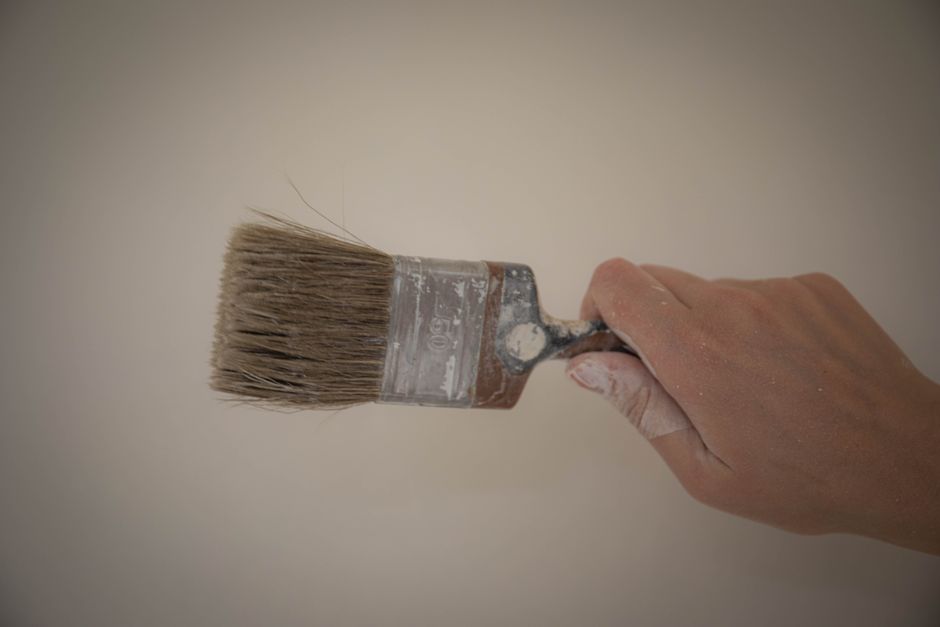
How to Paint a Ceiling Without Streaks
Ceiling streaks happen because dust and debris are trapped under the paint, because your roller nap is the wrong size, or because you're not blending your cut-in edges while they're wet. The good news: you can avoid all three mistakes with the right preparation and technique.
The core solution is simple. Clean thoroughly before you start, use a 3/8-inch nap roller (not larger), and smooth the edges of your cut-in paint with a brush before it dries. Do those three things and you'll get a professional-looking finish without the frustrating streaks and roller marks that plague most DIY ceiling jobs.
Below is exactly how to do it, step by step.
Step 1: Clean the Ceiling Thoroughly
Before you open a paint can, your ceiling needs to be clean. Dust, cobwebs, grease, and grime will get trapped under fresh paint and create streaks, marks, and uneven coverage.
Start by using a long-handled duster to remove cobwebs and loose dust from the entire ceiling. Don't skip corners or edges. Get into the seams where the ceiling meets the walls and around light fixtures.
Next, wash the ceiling with a mixture of water and trisodium phosphate (TSP) or a TSP substitute. TSP cuts through grease and buildup that plain water won't touch. Mix according to the product label, apply with a sponge or soft cloth on a long handle, and let it dry completely before painting. This step matters more than most people think, especially in kitchens or bathrooms where grease and humidity have settled on the ceiling.
Related: How Many Coats of Paint Do You Need: A Complete Guide
Related: How to Get Rid of Mice in Your Home: A Complete Guide
Let the ceiling dry fully. This usually takes a few hours depending on humidity and ventilation.
Step 2: Choose the Right Roller Nap Size
The roller nap (the fuzzy part that holds paint) matters more than you might expect. A nap that's too thick will hold too much paint and create marks. A nap that's too thin won't hold enough paint and you'll need multiple coats.
For most ceilings, a 3/8-inch nap roller is the sweet spot. It holds enough paint to cover in one or two passes without leaving excess paint that drips or pools.
Avoid large naps like 1/2-inch or 3/4-inch for ceilings. These are designed for textured walls, not smooth ceilings, and they tend to leave visible marks and an uneven finish.
Invest in a quality roller frame too. A cheap frame with wobbly bearings will cause the roller to spin unevenly, creating streaks as the paint is applied inconsistently.
Step 3: Cut In the Edges First
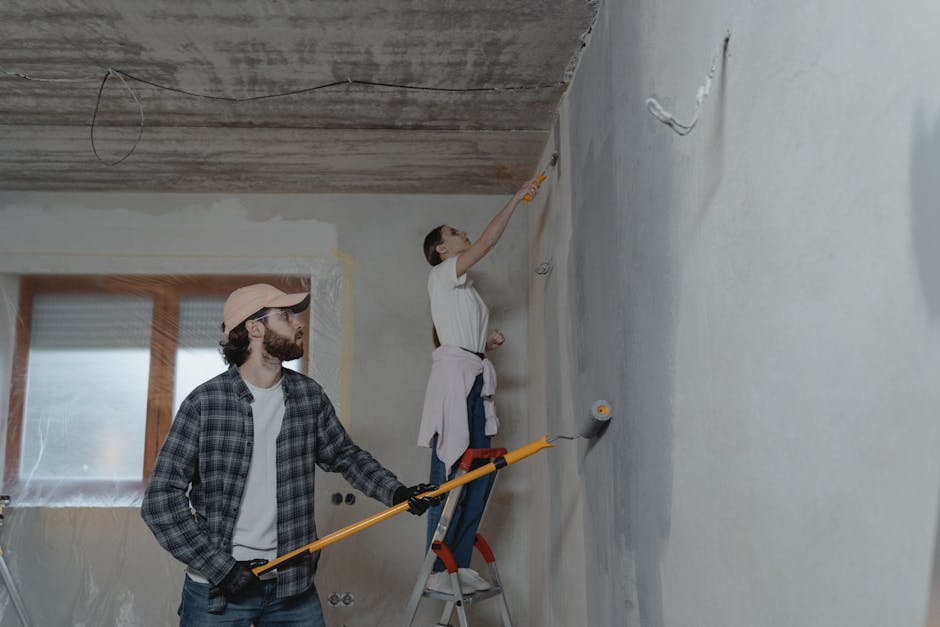
Cutting in means painting the edges and corners of the ceiling where the roller can't reach. Many people use a regular brush for this, but a mini-roller (2-3 inches wide) actually works better because it applies paint more evenly and blends more seamlessly with the roller work.
If you use a mini-roller to cut in, load it lightly and apply a thin, even line of paint around the perimeter of the ceiling, along light fixtures, and where the ceiling meets the walls.
The key here is timing. You need to blend the top edge of that cut-in paint while it's still wet using a larger brush or the main roller. This prevents a hard, visible line where the cut-in meets the rest of the ceiling.
Step 4: Smooth the Cut-In Edges While Wet
This is the trick that separates streaky ceilings from smooth ones.
Right after you've cut in an edge with your mini-roller, use a brush (or the edge of your main roller) to lightly blend the top edge of that paint line while it's still wet. You're not adding more paint, just feathering the edge so it transitions smoothly into the rest of the ceiling.
Use light pressure and move the brush in the direction away from the wall, into the unpainted area. This blends the paint and prevents a hard line from forming as it dries.
Do this section by section as you work your way around the room. Don't cut in the entire perimeter and then try to blend it all at once, because some edges will have dried by the time you get back to them.
Step 5: Roll the Main Ceiling Area
Once your cut-in edges are blended, it's time to roll the main ceiling.
Apply paint to your 3/8-inch nap roller by rolling it slowly into the paint tray. Don't dunk it and shake off excess. Instead, roll it gently to load the nap evenly, squeezing out any drips.
Start in one corner and roll in overlapping parallel strokes, working your way across the ceiling. A common pattern is to roll in one direction, then roll back over your work in a perpendicular direction. This ensures even coverage and helps blend out any roller marks.
Keep the roller moving at a steady pace. Don't stop and stand still with a loaded roller on the ceiling, as this will cause drips and pooling.
When you reload your roller, overlap your previous section slightly to avoid hard lines. The overlap should blend smoothly.
Step 6: Watch for Common Mistakes

Even experienced DIYers run into trouble with ceiling streaks, so don't feel alone if your first attempt isn't perfect.
The most common mistakes are: using a roller nap that's too large, skipping the ceiling cleaning step, not blending cut-in edges while wet, pressing too hard with the roller (which squeezes out too much paint), and not overlapping sections properly.
If you notice streaks forming as you work, stop and let that section dry. Then lightly roll over it again with a nearly dry roller to even out the marks. It takes practice, but with each ceiling you paint, you'll develop a feel for the right roller speed, pressure, and loading technique.
When to Call a Professional
Most homeowners can paint a ceiling without streaks if they follow the steps above. But if your ceiling is textured, if there's active moisture or mold, or if the ceiling has been water-damaged, painting over it without fixing the underlying problem will fail.
Also, if your ceiling is very high or difficult to reach safely, or if you have a health condition that makes standing on a ladder risky, hire a professional painter. A few hundred dollars for labor is worth avoiding a fall.
People Also Ask
What paint finish works best for ceilings?
Flat or matte paint is the standard for ceilings because it hides imperfections better than glossy finishes. Satin is also acceptable and easier to clean. Avoid semi-gloss or gloss on ceilings unless you need them for bathrooms or kitchens where moisture is high. The paint's sheen matters less than the application technique when it comes to avoiding streaks.
How many coats of paint do I need on a ceiling?
Most ceilings need two coats for even coverage, especially if you're changing the color significantly. If you're repainting the same color, one coat might be enough if the old paint is in good shape. Always let the first coat dry completely before applying the second. A second coat also helps smooth out minor streaks from the first pass.
Can I paint a ceiling alone, or do I need help?
You can paint a ceiling alone, but having a helper makes it easier and faster. A second person can hand you supplies, keep paint mixed, and catch drips before they become a problem. If you're going solo, take your time and set up your workspace so everything you need (roller, tray, paint, brush, ladder) is within arm's reach.
What's the difference between painting drywall and textured ceilings?
Textured ceilings are harder to paint streak-free because the texture itself hides some marks but also makes it harder to apply paint evenly. Use a slightly thicker nap roller (1/2-inch) for textured ceilings and expect to use a bit more paint. If your textured ceiling is very thick or popcorn-style, consider hiring a professional, especially if the texture is old (older popcorn may contain asbestos, which requires professional abatement).
Common questions
Flat or matte paint is the standard for ceilings because it hides imperfections better than glossy finishes. Satin is also acceptable and easier to clean. Avoid semi-gloss or gloss on ceilings unless you need them for bathrooms or kitchens where moisture is high. The paint's sheen matters less than the application technique when it comes to avoiding streaks.
Most ceilings need two coats for even coverage, especially if you're changing the color significantly. If you're repainting the same color, one coat might be enough if the old paint is in good shape. Always let the first coat dry completely before applying the second. A second coat also helps smooth out minor streaks from the first pass.
You can paint a ceiling alone, but having a helper makes it easier and faster. A second person can hand you supplies, keep paint mixed, and catch drips before they become a problem. If you're going solo, take your time and set up your workspace so everything you need (roller, tray, paint, brush, ladder) is within arm's reach.
Textured ceilings are harder to paint streak-free because the texture itself hides some marks but also makes it harder to apply paint evenly. Use a slightly thicker nap roller (1/2-inch) for textured ceilings and expect to use a bit more paint. If your textured ceiling is very thick or popcorn-style, consider hiring a professional, especially if the texture is old (older popcorn may contain asbestos, which requires professional abatement).