How to Fix Peeling Paint: Steps to Repair It Right
Peeling paint needs proper prep work to stay fixed. Learn why paint peels, how to remove it safely, and the right way to repaint so it doesn't happen again.
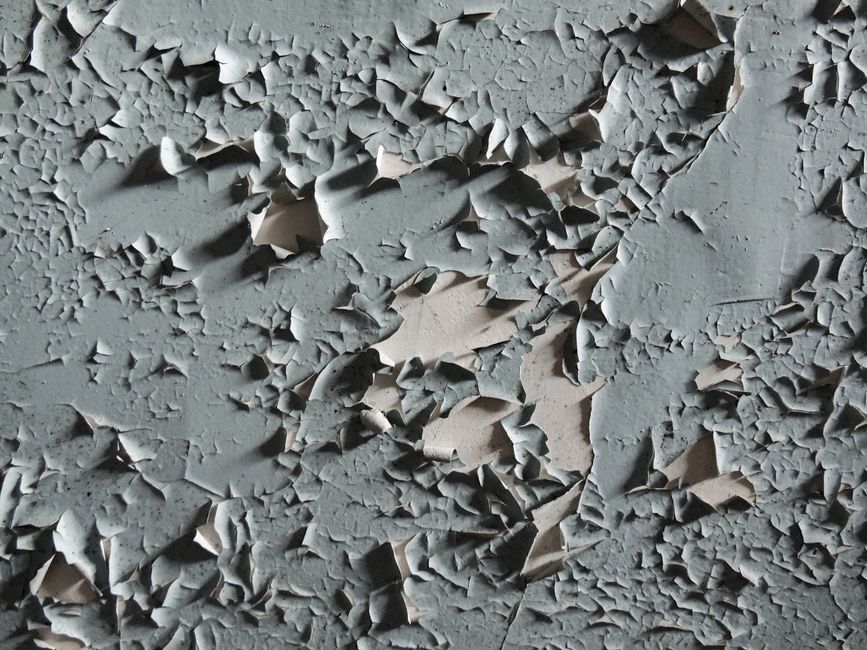
Peeling paint is frustrating, but the fix is straightforward if you do the prep work. The reason paint peels in the first place is almost always the same: moisture got under the paint, the surface wasn't clean before painting, or the primer and paint didn't bond properly. To fix it the right way, you have to remove all the loose paint, clean the surface, prime it, and repaint. Skip any of those steps and it will peel again.
Why Paint Peels in the First Place
Paint doesn't just fall off for no reason. Something caused the bond between the paint and the wall (or ceiling, or floor) to fail.
Related: How to Clean Hardwood Floors the Right Way
The most common culprit is water or moisture. If water gets behind the paint, it will eventually push the paint away from the surface. This happens in bathrooms, kitchens, basements, and any place where humidity is high or there's been a leak. On exterior walls, rain, snow, and freeze-thaw cycles do the same thing.
The second big cause is poor surface prep. If the wall wasn't cleaned, sanded, or primed before the original paint went on, the paint has nothing to grip. Dust, grease, mildew, or old loose paint underneath will cause new paint to fail.
Third is using the wrong primer or skipping primer altogether. Not all primers work on all surfaces. If the surface is glossy, slick, or porous, and you paint over it without primer, adhesion fails.
How to Fix Peeling Paint: The Full Process
Fixing peeling paint is a multi-step job. It's not hard, but it does take time.
Step 1: Remove All Loose and Peeling Paint
This is the most important step. You cannot skip it.
Use a paint scraper, putty knife, or wire brush to scrape away every bit of loose, flaky, or peeling paint. Work slowly and get underneath the edges of the paint film. If paint is stuck tight, it stays. If it lifts or flakes when you scrape, it has to go.
For large areas with heavy peeling, a paint scraper with a long handle or a wire wheel attachment on a drill will save your arms. Work carefully so you don't gouge the underlying surface. On drywall, you want to avoid cutting into the paper layer underneath.
Once you've scraped off all the loose paint, use a putty knife or scraper to smooth any rough edges or paint ridges left behind.
Step 2: Clean the Surface Thoroughly
After scraping, the surface needs to be clean. Dust, grease, mildew, and contaminants will prevent new paint from sticking.
Wipe the area with a damp cloth or sponge to remove all dust and debris. If there's mildew or mold (especially in bathrooms or basements), clean it with a solution of water and a small amount of detergent, or a diluted bleach solution if mildew is heavy. Let it dry completely.
If the surface is glossy or slick, lightly sand it with 120- to 150-grit sandpaper. This roughens the surface so primer and paint can grip it better. Wipe away all dust with a damp cloth and let it dry.
Step 3: Fill Gaps and Holes
If scraping revealed holes, dents, or gaps in the surface, fill them with acrylic filler or spackling compound.
Mix the filler to a yogurt-like consistency (slightly thinner than it comes out of the container if it's too thick). Use a small putty knife to press the filler firmly into the gap. Overfill slightly, then scrape away the excess once it starts to dry. Sand smooth once it's completely dry.
For small cracks, you can apply the filler with a paintbrush. For larger holes, a putty knife works better.
Step 4: Prime the Repaired Area
This is where many people mess up the second time. Primer is not optional.
Apply a coat of primer designed for your surface. If you're priming drywall, use a standard acrylic or latex primer. If you're priming bare wood, use a wood primer. For concrete floors or basement walls, use an epoxy primer, which bonds better to porous surfaces and resists moisture.
Prime the entire scraped and repaired area, feathering the edges so the primer blends into the surrounding painted area. Let the primer dry completely (follow the label). Most primers dry in 1 to 3 hours, but check the can.
Primer does one crucial job: it makes paint stick. Don't skip it.
Step 5: Paint
Once the primer is dry, apply your topcoat paint. Use the same type of paint that's already on the surface (latex or acrylic for most interior walls), or use a premium paint if you want better durability.
Apply paint in thin, even coats. Two thin coats are better than one thick coat. Let the first coat dry completely before applying the second. Check the label for drying time between coats (usually 2 to 4 hours for latex paint).
Brush the paint on smoothly, especially at the edges where the new paint meets the old. Feather the edges so you don't see a hard line.
Special Situations: Walls, Ceilings, and Concrete
The process above works for most interior walls. But some surfaces need a tweak.
Interior Drywall
Standard drywall is the easiest to fix. Follow the steps above and you're done. Make sure your scraper doesn't dig into the paper facing.
Ceilings
Ceilings are the same process, just harder because you're working overhead. A scaffolding or sturdy ladder is essential. Wear safety glasses so dust and debris don't fall in your eyes. Use a paint roller with an extension pole to prime and paint, which is faster and easier than a brush.
Concrete and Basement Floors
Concrete is porous and absorbs moisture. If paint is peeling on a concrete floor, moisture is almost certainly the cause.
After scraping and cleaning, check if the floor is wet or damp. You can test this by taping a piece of plastic to the floor for 24 hours. If moisture collects underneath, you have a moisture problem that needs to be fixed before you repaint. Otherwise, the new paint will peel again.
If the floor is dry, use an epoxy primer and epoxy paint. Regular latex paint won't hold up on concrete as well. Epoxy is more durable and resists moisture and staining better.
Exterior Paint
Exterior paint peeling is usually caused by moisture trapped under the paint, often from water entering the wall. Before you repaint, figure out where the water is coming from. Is it condensation? A roof leak? Poor drainage? Caulk gaps? If you don't fix the water problem, the new paint will peel again.
Follow the same prep steps: scrape, clean, fill, prime, and paint. Use exterior-grade primer and paint. Exterior paint has additives that protect against UV light and moisture. Interior paint won't last on the outside.
Tools and Materials You'll Need

You probably already have most of these at home.
- Paint scraper or putty knife
- Wire brush or wire wheel (optional, for heavy peeling)
- Sandpaper (120- to 150-grit)
- Damp cloth or sponge
- Acrylic filler or spackling compound
- Primer (acrylic, wood, or epoxy depending on surface)
- Paint (latex or acrylic for interior; exterior-grade for outside)
- Paintbrush or paint roller
- Extension pole (for ceilings)
- Drop cloth or plastic sheeting
- Safety glasses
How Long Does This Take?
For a small area (a few square feet), you can scrape, prep, prime, and paint in an afternoon. For a large wall or ceiling, plan on a full day or more, depending on how much loose paint there is and how many coats you need.
Drying time between coats adds up. If primer takes 2 hours and paint takes 3 hours, you're looking at 5 hours of waiting time alone, plus however long the actual work takes.
Plan ahead and don't rush the drying times. Paint applied over wet primer or paint will fail.
Can You Reattach Paint Chips Without Scraping Everything?
Not really. If paint is peeling, the surface underneath has failed. Even if you glue flakes back down with clear adhesive or a specialized paint adhesive, the underlying bond is still broken. The paint will peel again somewhere else nearby.
The only way to fix peeling paint permanently is to remove it all and start fresh with proper prep and primer.
When to Call a Professional
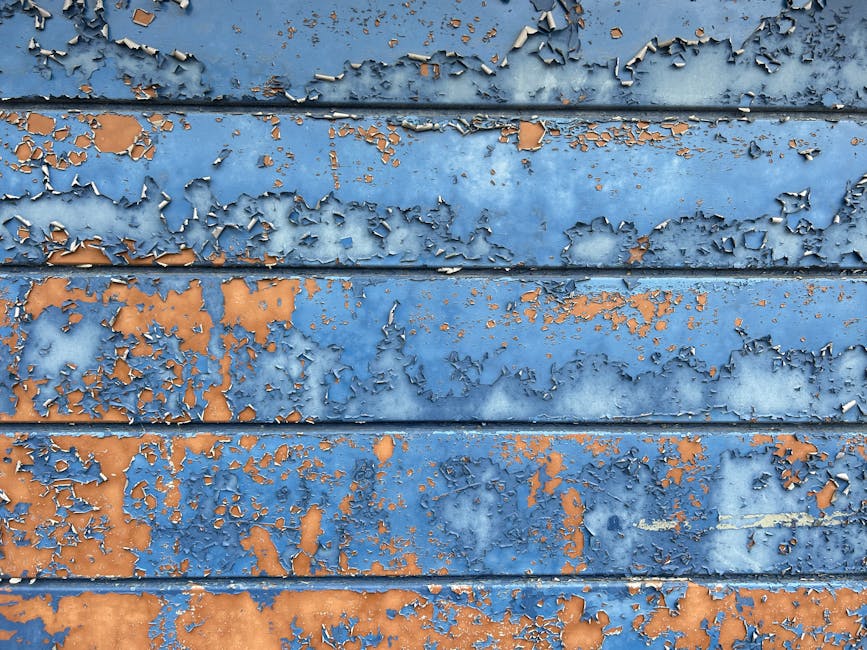
For most peeling paint on interior walls and ceilings, this is a manageable DIY job. You don't need special skills or tools.
However, if peeling is severe and widespread, or if you suspect the peeling is caused by a structural problem (like a roof leak or foundation issue), it's worth having a professional look at it first. They can identify the root cause and make sure you're not just painting over a bigger problem.
If paint is peeling on exterior walls high up, or if there's extensive water damage, hire a professional. Working at height is dangerous, and water damage can indicate structural issues that need expert diagnosis.
Preventing Peeling Paint in the Future
Once you've fixed it, you want to avoid doing this again.
Proper prep work is everything. Always clean the surface, sand it lightly if needed, and prime before painting. Never skip primer, even if the paint can says you can.
In high-moisture areas like bathrooms and kitchens, use paint designed for moisture resistance (often labeled as satin or semi-gloss finish, which sheds water better than flat paint). Make sure bathrooms have a working exhaust fan to remove humidity.
Related: How to Choose the Right Paint Finish for Your Home
In basements and crawl spaces, address moisture problems before painting. Poor drainage, high water table, or condensation will destroy any paint job. Fix the moisture first.
On exterior walls, keep gutters clean so water drains away. Caulk gaps around windows and doors. Make sure siding and trim are in good shape. These small preventive steps save you from peeling paint later.
Common questions
No. Paint won't stick to peeling paint. You have to scrape off all the loose stuff first, or the new paint will fail too. There's no shortcut here.
Humidity and moisture. Bathrooms are wet environments. If the room doesn't have good ventilation or the exhaust fan doesn't run long enough, moisture gets trapped under the paint and pushes it away from the wall. Using bathroom-specific paint (which resists moisture better) and running the exhaust fan during and after showers helps prevent this.
No. Quality paint on a well-prepped surface should last 5 to 10 years indoors before needing a refresh. If it's peeling sooner, something went wrong during prep or application, or there's a moisture problem. Fix the root cause, not just the paint.
Paint-and-primer-in-one products exist, but they don't work as well as separate primer and paint, especially over bare drywall, bare wood, or where old paint is peeling. For fixing peeling paint, use a proper primer. It's the difference between a fix that lasts and one that fails again in a year.