How to Prep Walls Before Painting: 7 Essential Steps
Proper wall prep is the secret to a professional paint finish. Learn the 7-step process from cleaning to sanding that takes 1-2 days.
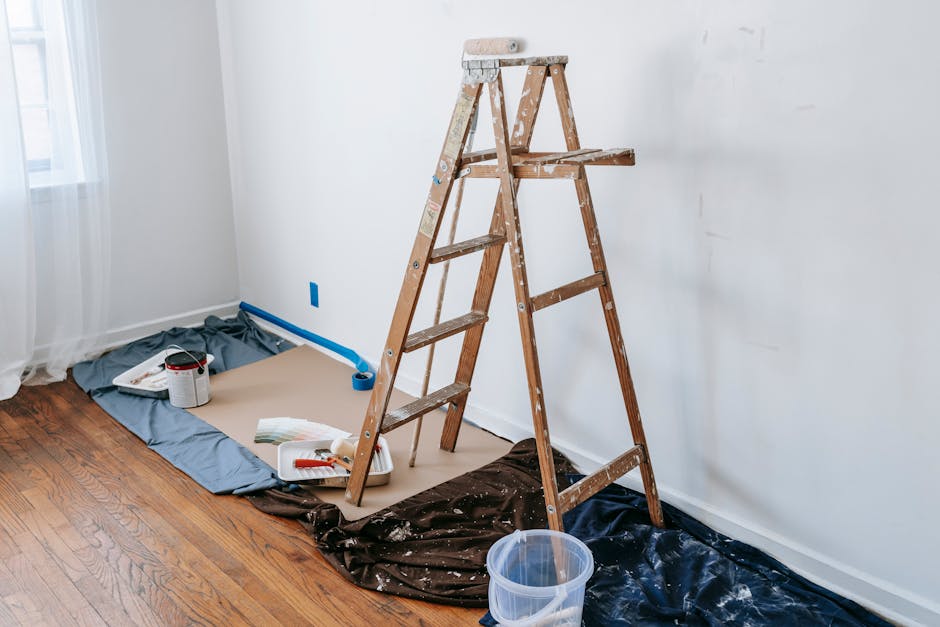
The difference between a paint job that looks amateur and one that looks professional almost always comes down to wall prep. You can use the best paint in the world, but if your walls aren't clean, smooth, and properly prepared, the finish will disappoint you. Here's what you need to know about how to prep walls before painting.
Why Wall Prep Matters
Paint doesn't stick well to dust, grease, or loose material. When you skip prep work, you're essentially painting over a layer of grime. The paint may look fine for a few weeks, but it'll chip, peel, and look uneven under any light. Proper wall prep takes time, but it cuts your chances of regret in half.
The basic steps are always the same: dust, clean, rinse, dry, sand, and patch. Some walls need more work than others, but every room benefits from this sequence.
Related: How to Reset a Tripped Circuit Breaker: Safe Steps
Step 1: Remove Dust and Cobwebs
Start at the top of your room and work downward. Use a long-handled duster or dry cloth to wipe away dust, cobwebs, and debris from the ceiling line, corners, and upper walls. This prevents you from pushing dust back onto areas you've already cleaned.
Pay special attention to corners, ceiling edges, and any ledges or trim. These spots collect dust fast and are easy to miss if you're not looking.
Step 2: Wash Your Walls
A TSP solution (trisodium phosphate) mixed with warm water is the standard cleaner for walls before painting. TSP cuts through grease, grime, and years of buildup that regular soap won't touch. You can find TSP at hardware stores, usually in the paint section.
Use a sponge mop or large sponge to apply the solution. Work from top to bottom again, using gentle pressure. Don't soak the walls; you just want them damp enough to dissolve the surface grime.
For tough stains or greasy kitchen walls, let the TSP solution sit for a few minutes before wiping.
Step 3: Rinse Thoroughly
This step is critical and often rushed. After washing with TSP, you need to rinse your walls with clean water using a fresh sponge mop. Change your rinse water frequently, at least 3-4 times, to remove all cleaning residue.
If TSP residue stays on your walls, it can interfere with paint adhesion and create a hazy, uneven finish. Take your time here.
Step 4: Let Walls Dry Completely
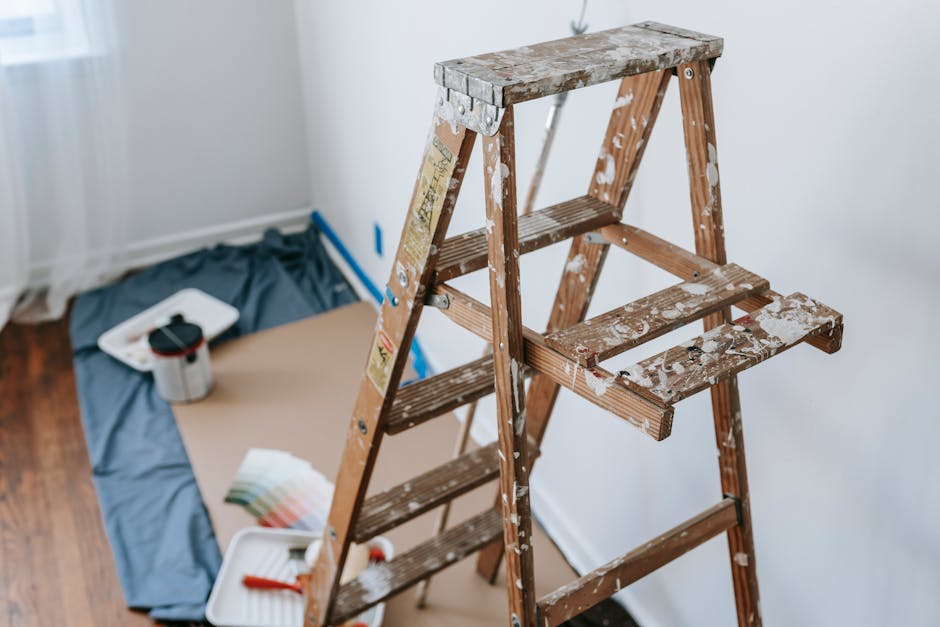
Wet walls won't sand properly, and paint won't stick to damp surfaces. After rinsing, allow your walls to dry for at least 24 hours. Open windows, run a fan, and keep the room warm and well-ventilated.
On humid days, drying may take longer. Check corners and baseboards, which tend to stay damp longer than flat wall sections. Your walls should feel completely dry to the touch before you move to the next step.
Step 5: Sand Your Walls Lightly
Once your walls are dry, light sanding smooths out imperfections and helps paint adhere better. You're not trying to remove layers of old paint; you're just roughing up the surface texture so new paint has something to grip.
Use medium-grit sandpaper (120-150 grit) and a sanding block or pole sander. Sand in circular motions, paying extra attention to shiny spots, gloss paint, or high-traffic areas that have gotten slick over time. This doesn't take much pressure, so don't force it.
Wipe away all dust with a damp cloth or tack cloth after sanding. Tack cloths are cheap and designed to grab fine dust particles that regular rags miss.
Step 6: Fill Holes and Cracks
Now that your walls are clean and dry, you can see every imperfection clearly. Use spackling paste for small nail holes and cracks under 1/4 inch wide. For larger holes or cracks, use joint compound or patching compound.
Apply filler with a putty knife, overfilling slightly. Once it dries (usually 1-2 hours for spackle), sand it smooth with fine-grit sandpaper so it's flush with the wall.
Wipe away dust again with a damp cloth.
Step 7: Prime if Needed
Primer isn't always necessary, but it helps in several situations. Use primer if you're painting over a dark color with light paint, covering stains or water marks, or painting raw drywall or patches for the first time.
Primer seals the surface and gives your topcoat paint something stable to grip. It also helps ensure even color coverage, especially on porous patches or repairs.
Allow primer to dry per the manufacturer's instructions (usually 1-3 hours) before painting.
Common Mistakes to Avoid
Rushing the drying step is the most common mistake. Wet walls won't hold paint properly, and you'll see bubbling or peeling later. Give yourself the full 24 hours.
Skipping the rinse step after washing is another big one. TSP residue is invisible but real, and it causes adhesion problems.
Under-sanding glossy or semi-gloss paint is also common. If you're painting over old shiny paint, sand it thoroughly so the new paint grips the surface.
Finally, don't assume all walls are the same. Bathrooms and kitchens collect grease and need more aggressive cleaning than bedrooms or living rooms. Adjust your approach based on what you see.
How Long Does Wall Prep Take?
Total prep time depends on room size and wall condition. A small bedroom might take 4-6 hours of active work spread over 2 days (including drying time). A larger living room or kitchen could take 8-12 hours across 2-3 days.
The majority of that time is drying and waiting, not active labor. You're not spending 12 hours of elbow grease; you're giving the process time to work properly.
When to Call a Professional
If your walls have large cracks, water damage, mold, or severe damage, those issues need repair before painting. A licensed contractor or restoration specialist can assess whether the damage is cosmetic or structural.
Similarly, if your walls are heavily textured (popcorn ceilings or acoustic finishes), removing or preparing them is a bigger job that some homeowners prefer to hire out.
For most standard drywall prep, though, this is a straightforward DIY task that takes patience more than skill.
People Also Ask
Do I need to prime after washing walls?
No, not always. Primer is necessary when you're painting over a dark color with light paint, covering stains or water marks, or painting raw drywall or spackling patches. For standard repaints in similar colors, a good primer-in-one paint may work, but separate primer often gives better results.
Can I paint over glossy walls without sanding?
You shouldn't. Glossy and semi-gloss paint is slick, and new paint won't adhere properly without roughing up the surface. Light sanding (120-150 grit) is a quick step that prevents peeling and chipping later.
How do I remove tough stains before painting?
TSP solution handles most stains. For stubborn marks, let the TSP soak for 5-10 minutes, then scrub gently with a soft brush. For water stains or rust marks, a solution of white vinegar and water can help. For grease splatters in kitchens, TSP is your best bet. Always rinse thoroughly afterward.
What grit sandpaper should I use before painting?
Medium-grit sandpaper (120-150 grit) is standard for wall prep. It's rough enough to dull gloss paint and smooth out minor imperfections but not so aggressive that it damages drywall paper. After spackling repairs, use fine-grit (180-220 grit) to sand those patches smooth.
Common questions
No, not always. Primer is necessary when you're painting over a dark color with light paint, covering stains or water marks, or painting raw drywall or spackling patches. For standard repaints in similar colors, a good primer-in-one paint may work, but separate primer often gives better results.
You shouldn't. Glossy and semi-gloss paint is slick, and new paint won't adhere properly without roughing up the surface. Light sanding (120-150 grit) is a quick step that prevents peeling and chipping later.
TSP solution handles most stains. For stubborn marks, let the TSP soak for 5-10 minutes, then scrub gently with a soft brush. For water stains or rust marks, a solution of white vinegar and water can help. For grease splatters in kitchens, TSP is your best bet. Always rinse thoroughly afterward.
Medium-grit sandpaper (120-150 grit) is standard for wall prep. It's rough enough to dull gloss paint and smooth out minor imperfections but not so aggressive that it damages drywall paper. After spackling repairs, use fine-grit (180-220 grit) to sand those patches smooth.